After strong interest in the Facebook group, here is a clear breakdown of how to improve WiFi range on the Anthbot Genie mower.
This is a real hardware modification based on teardown and antenna replacement.
The issue
The mower worked well overall, but connectivity was the weak point.
- App connection relies mainly on Bluetooth and short-range WiFi
- Stable control only within ~7 meters from the house doors
- Even with a UniFi setup (4 APs), coverage was not sufficient
- Relocating access points did not significantly improve stability
The key problem was not the network, but the mower’s internal antenna design.
The Solution
ChatGPT : Radiation efficiency & gain
Patch (PCB/internal) antenna
Typical gain: ~1–3 dBi
Efficiency drops if near battery, ground planes, or plastic housing
External antenna (dipole/whip)
Typical gain: ~2–5 dBi (consumer), higher with directional
Better impedance matching → more consistent performance
👉 External antenna often gives +2–4 dB link budget → noticeable range increase
Expectations:
- PCB patch inside enclosure baseline
- External dipole (2–3 dBi) ~1.5–2× range
Step 1: Opening the housing
Luckily there is a video of housing removal - thanks to No Waffling for the videoTop housing removal is straightforward, and this video helps:
*Assembly tip:
- Reinstall upside down for easier alignment
- Press wheel assembly into housing carefully ( instead of putting pressure on wheels )
- A small amount of soapy water on rubber bushings helps reduce friction and risk of damage
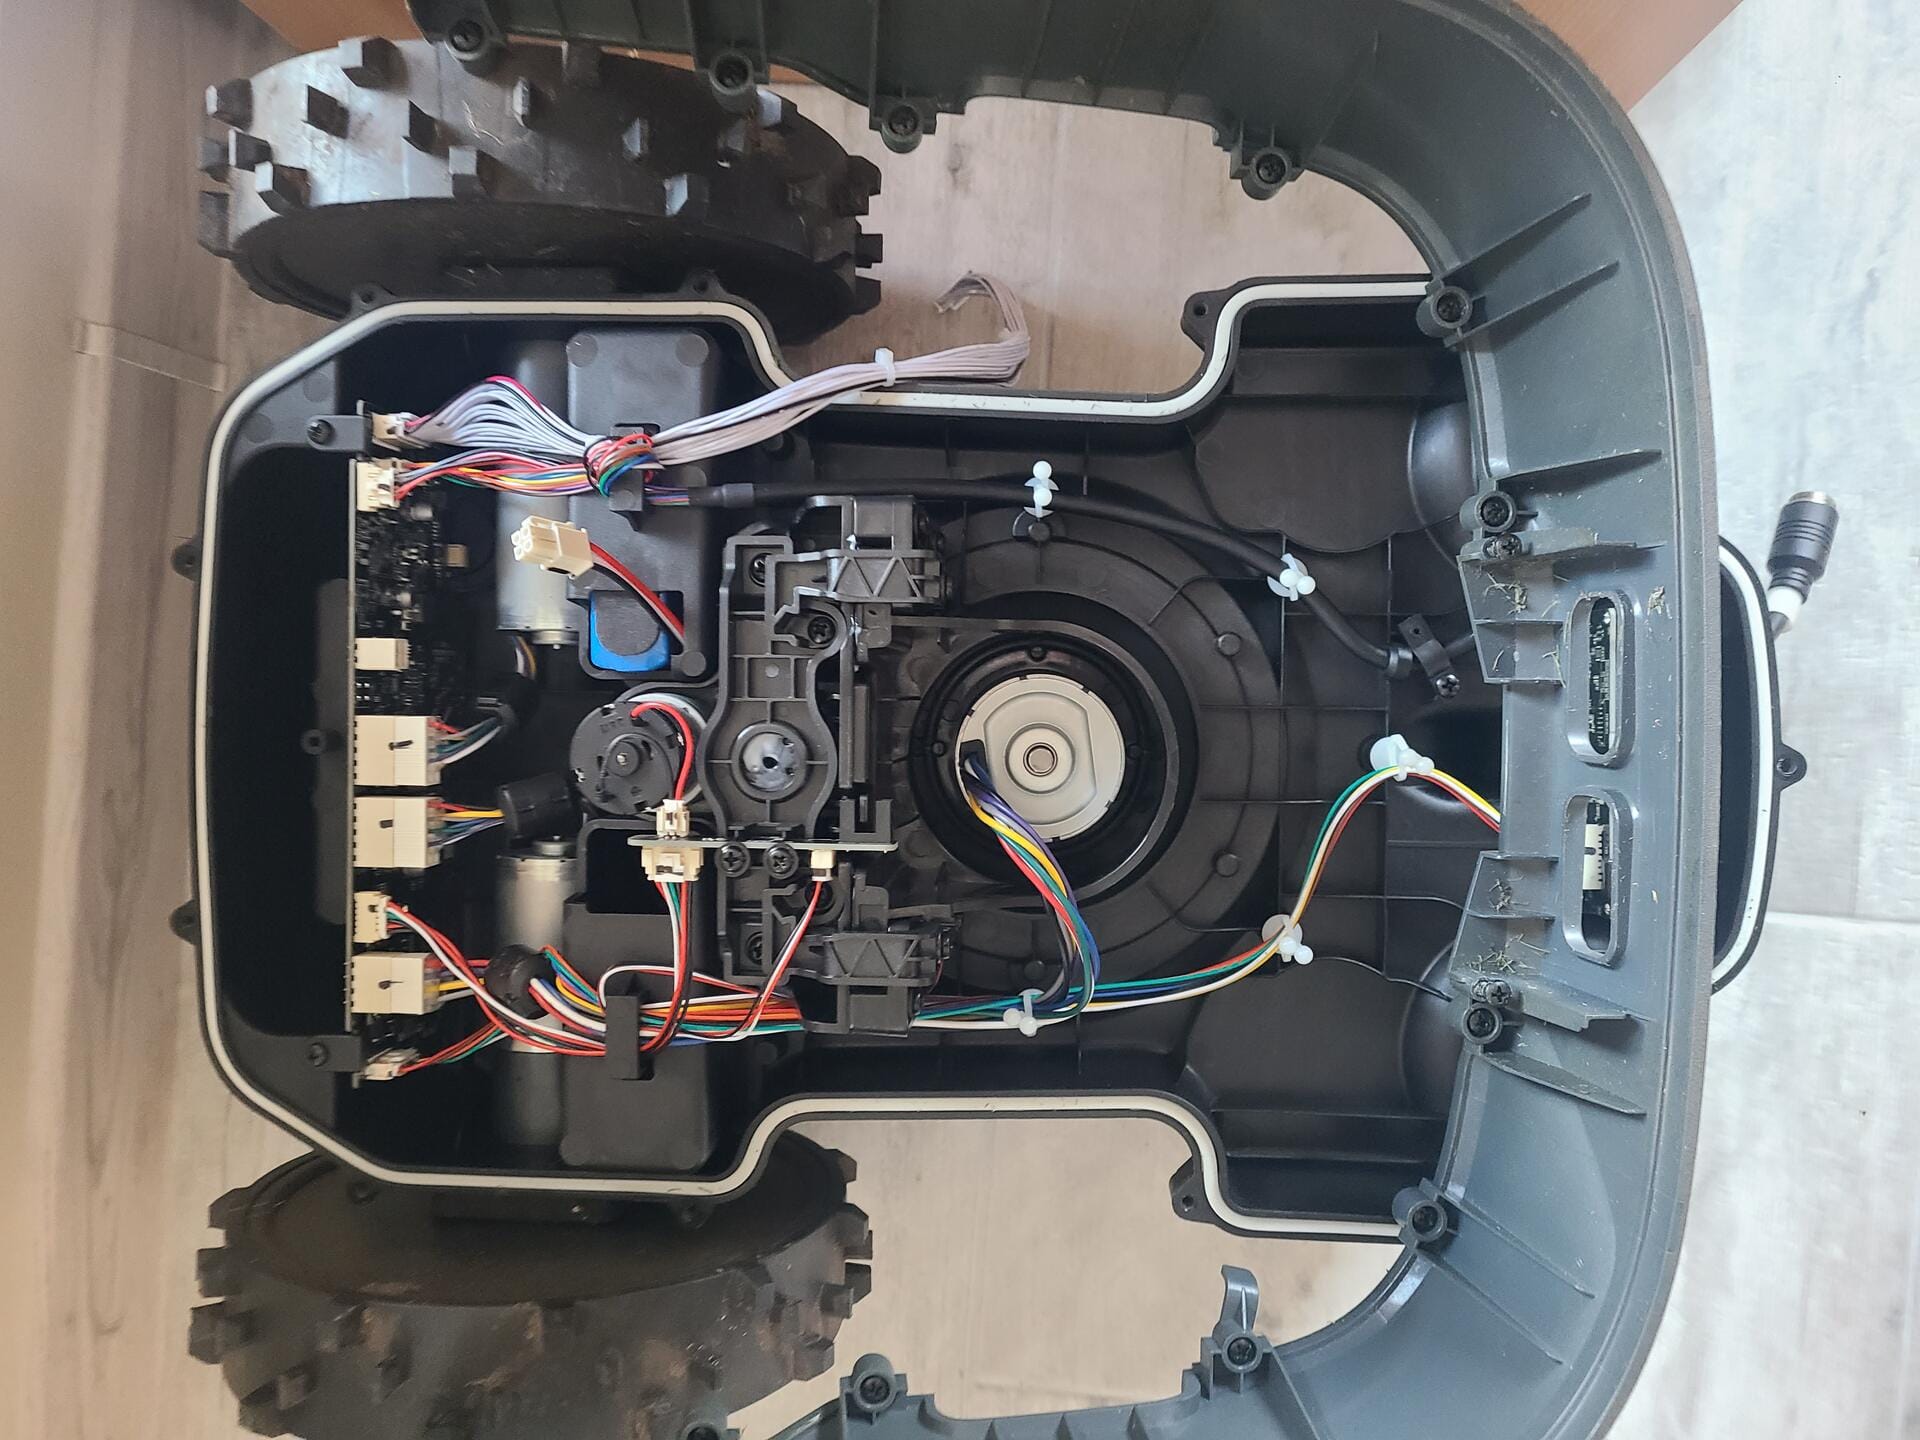
Step 2: Locating the WiFi module
Initial disassembly shows:
- There are no WiFi components in the wheel assembly section
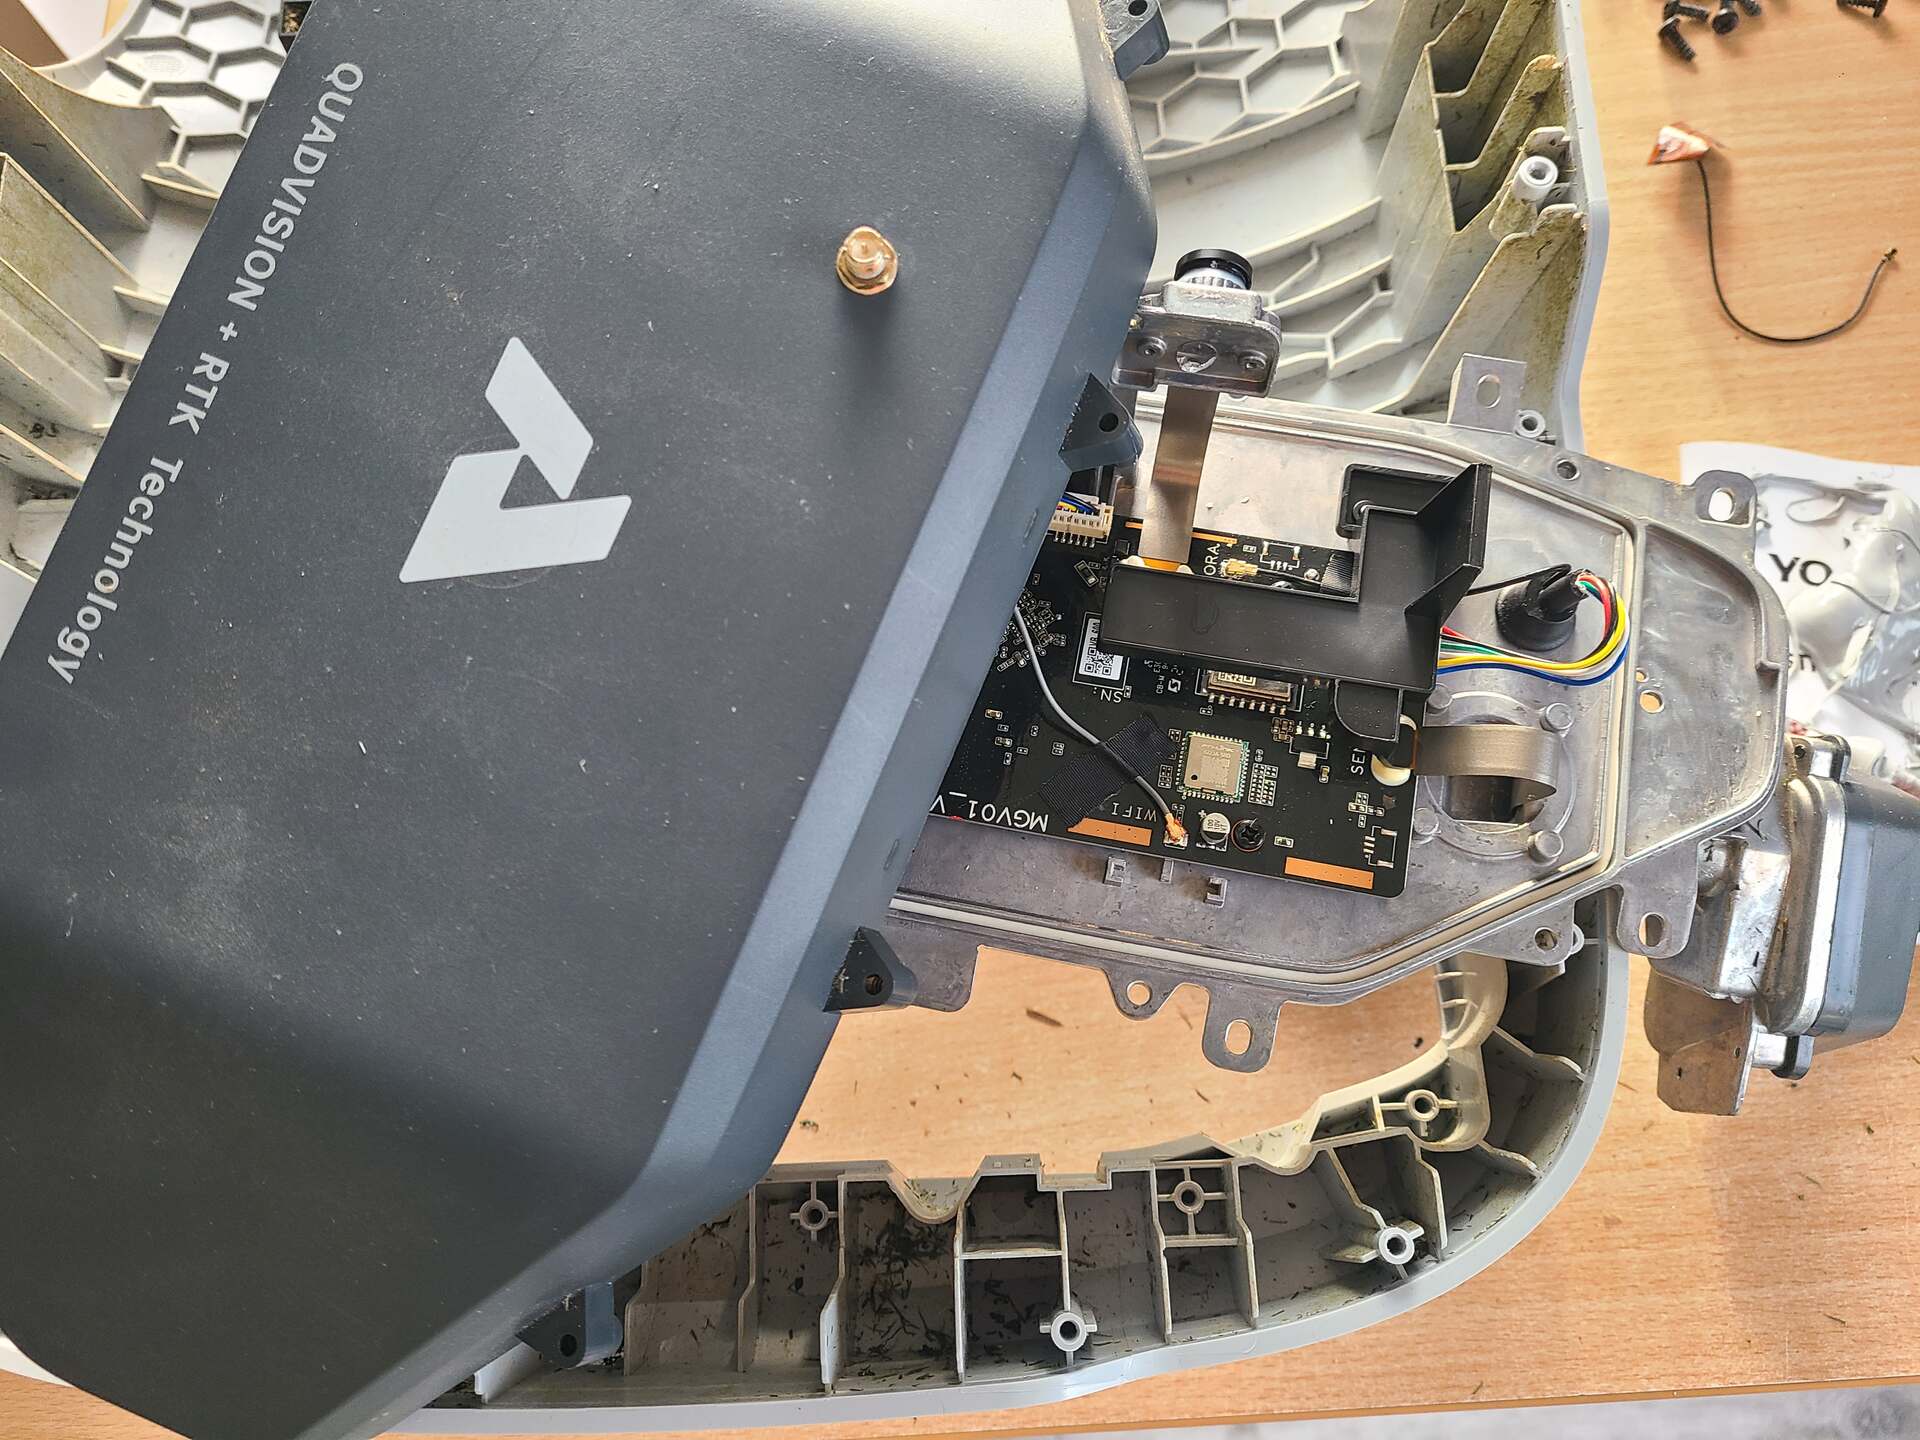
- Main electronics are located in the upper camera module (grey housing)
This is effectively the main control unit.
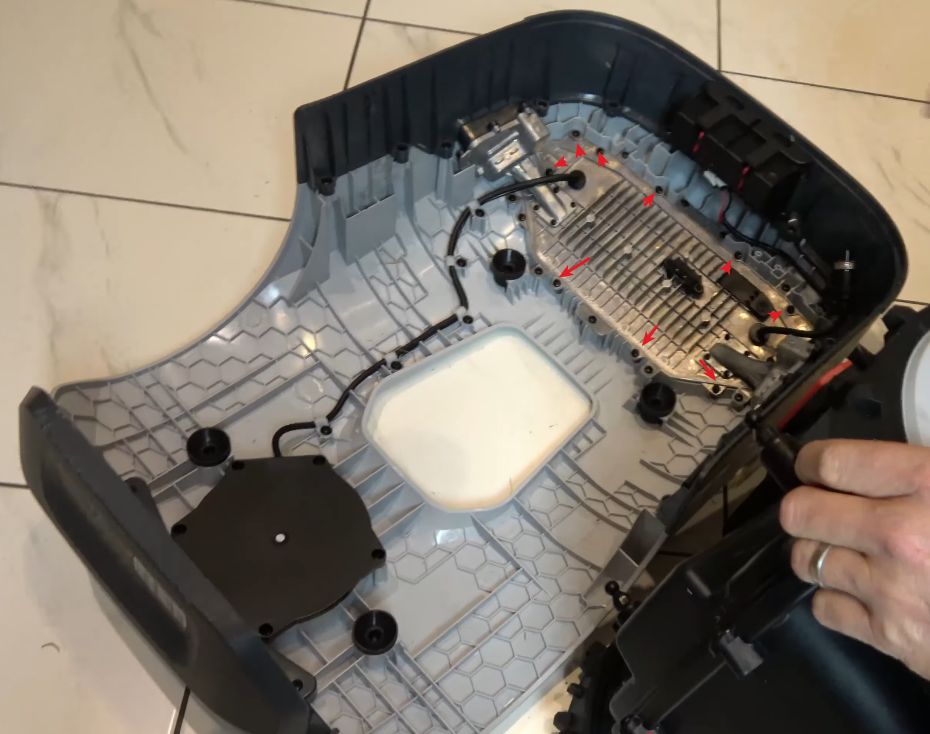
Step 3–5: Full access
- Remove charging plate by unscrewing these two screws

- Remove protective front guard
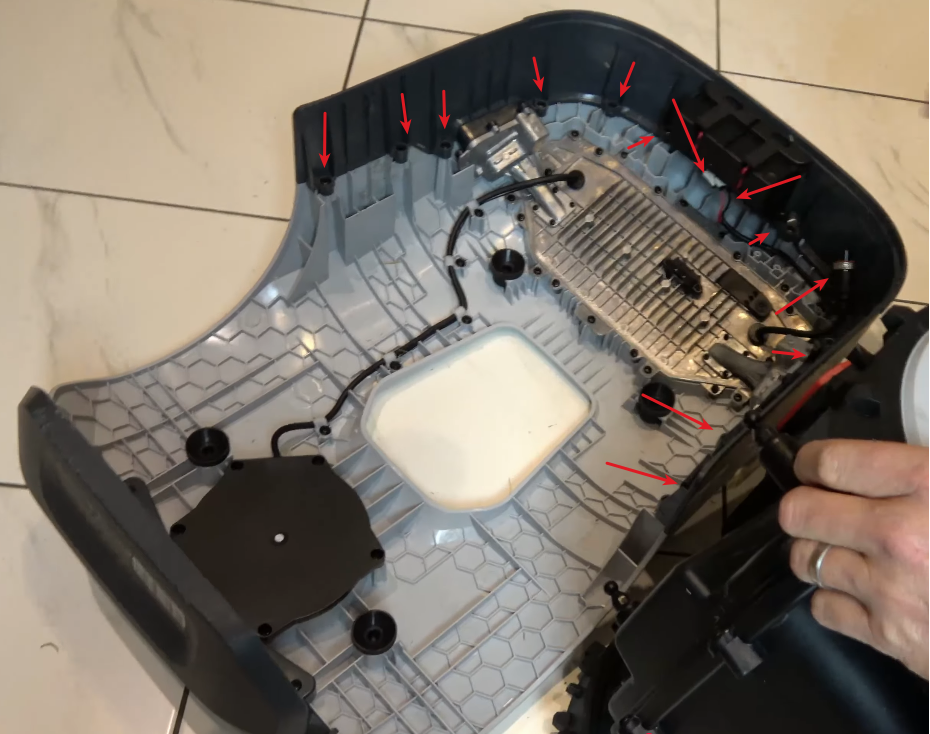
- Remove camera module.

At this stage, the magnesium camera module should be free from top housing and can be removed as a single assembly.
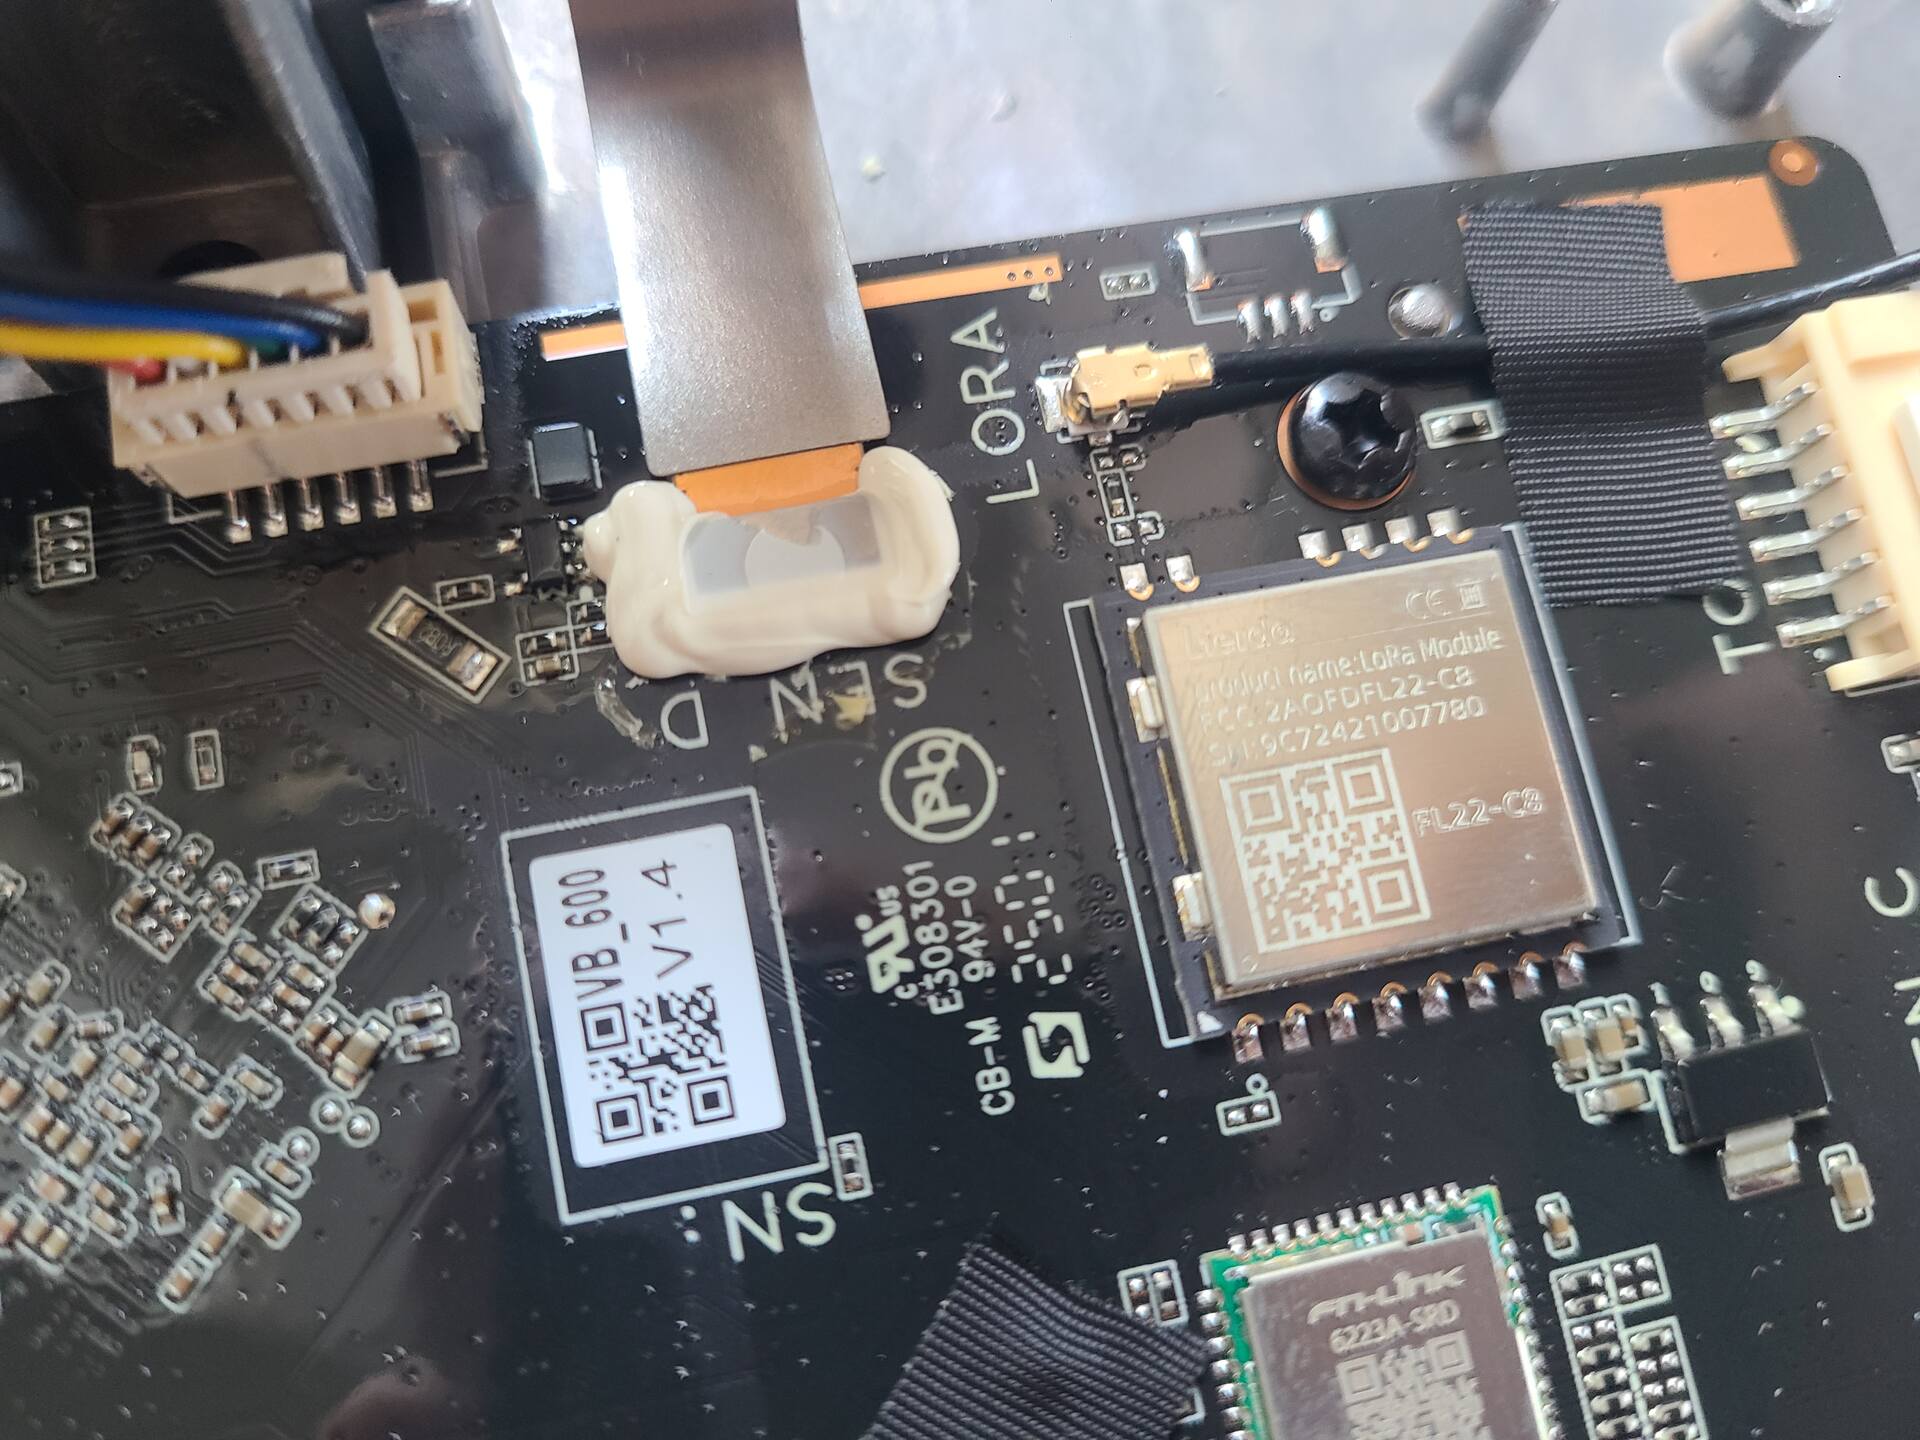
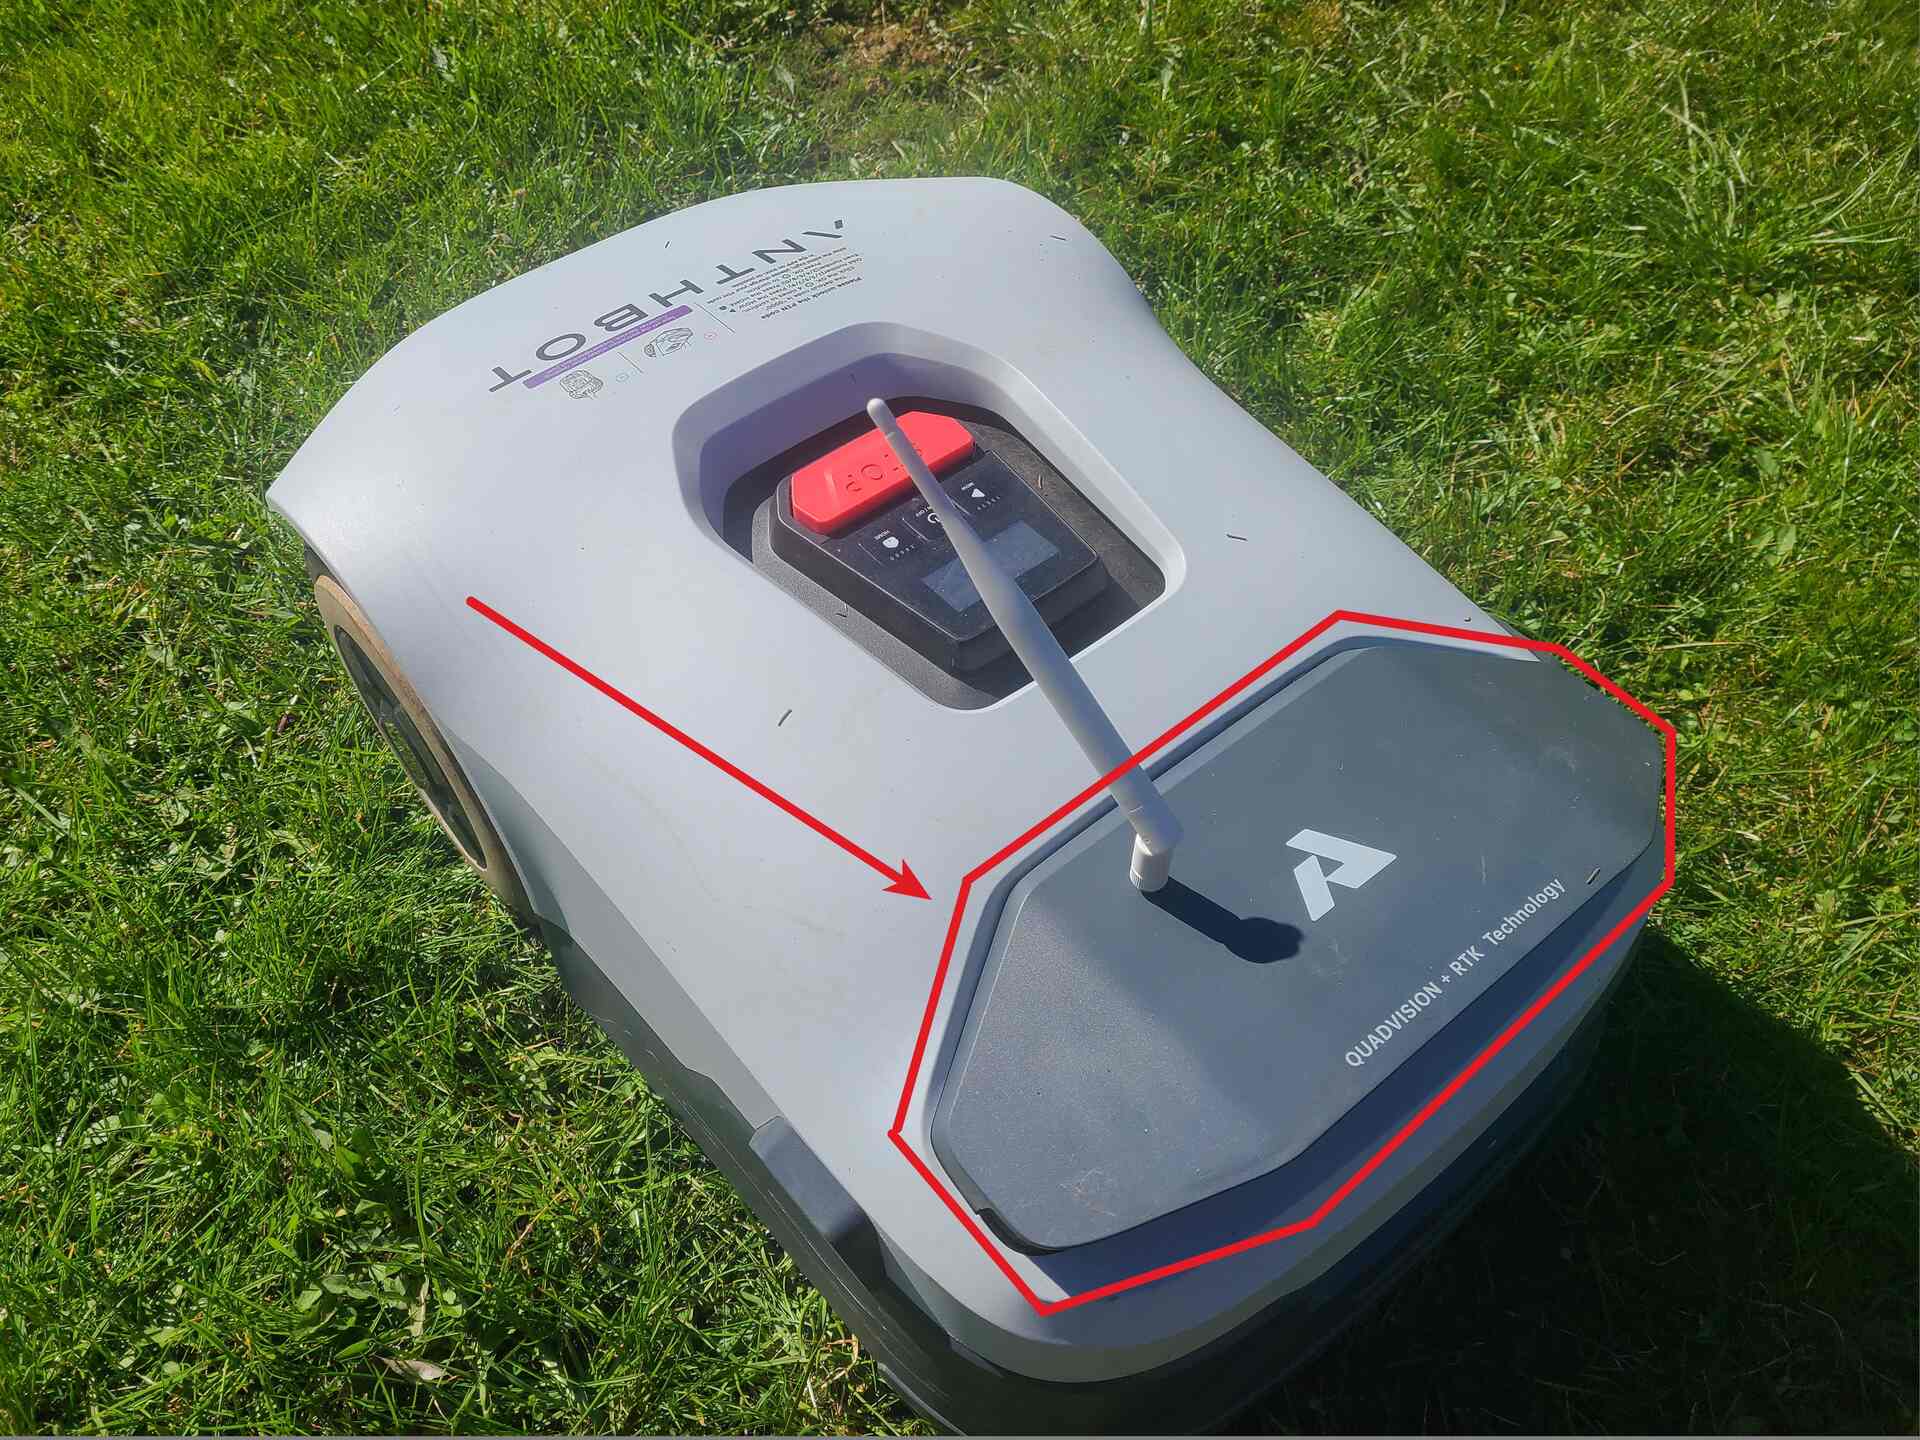
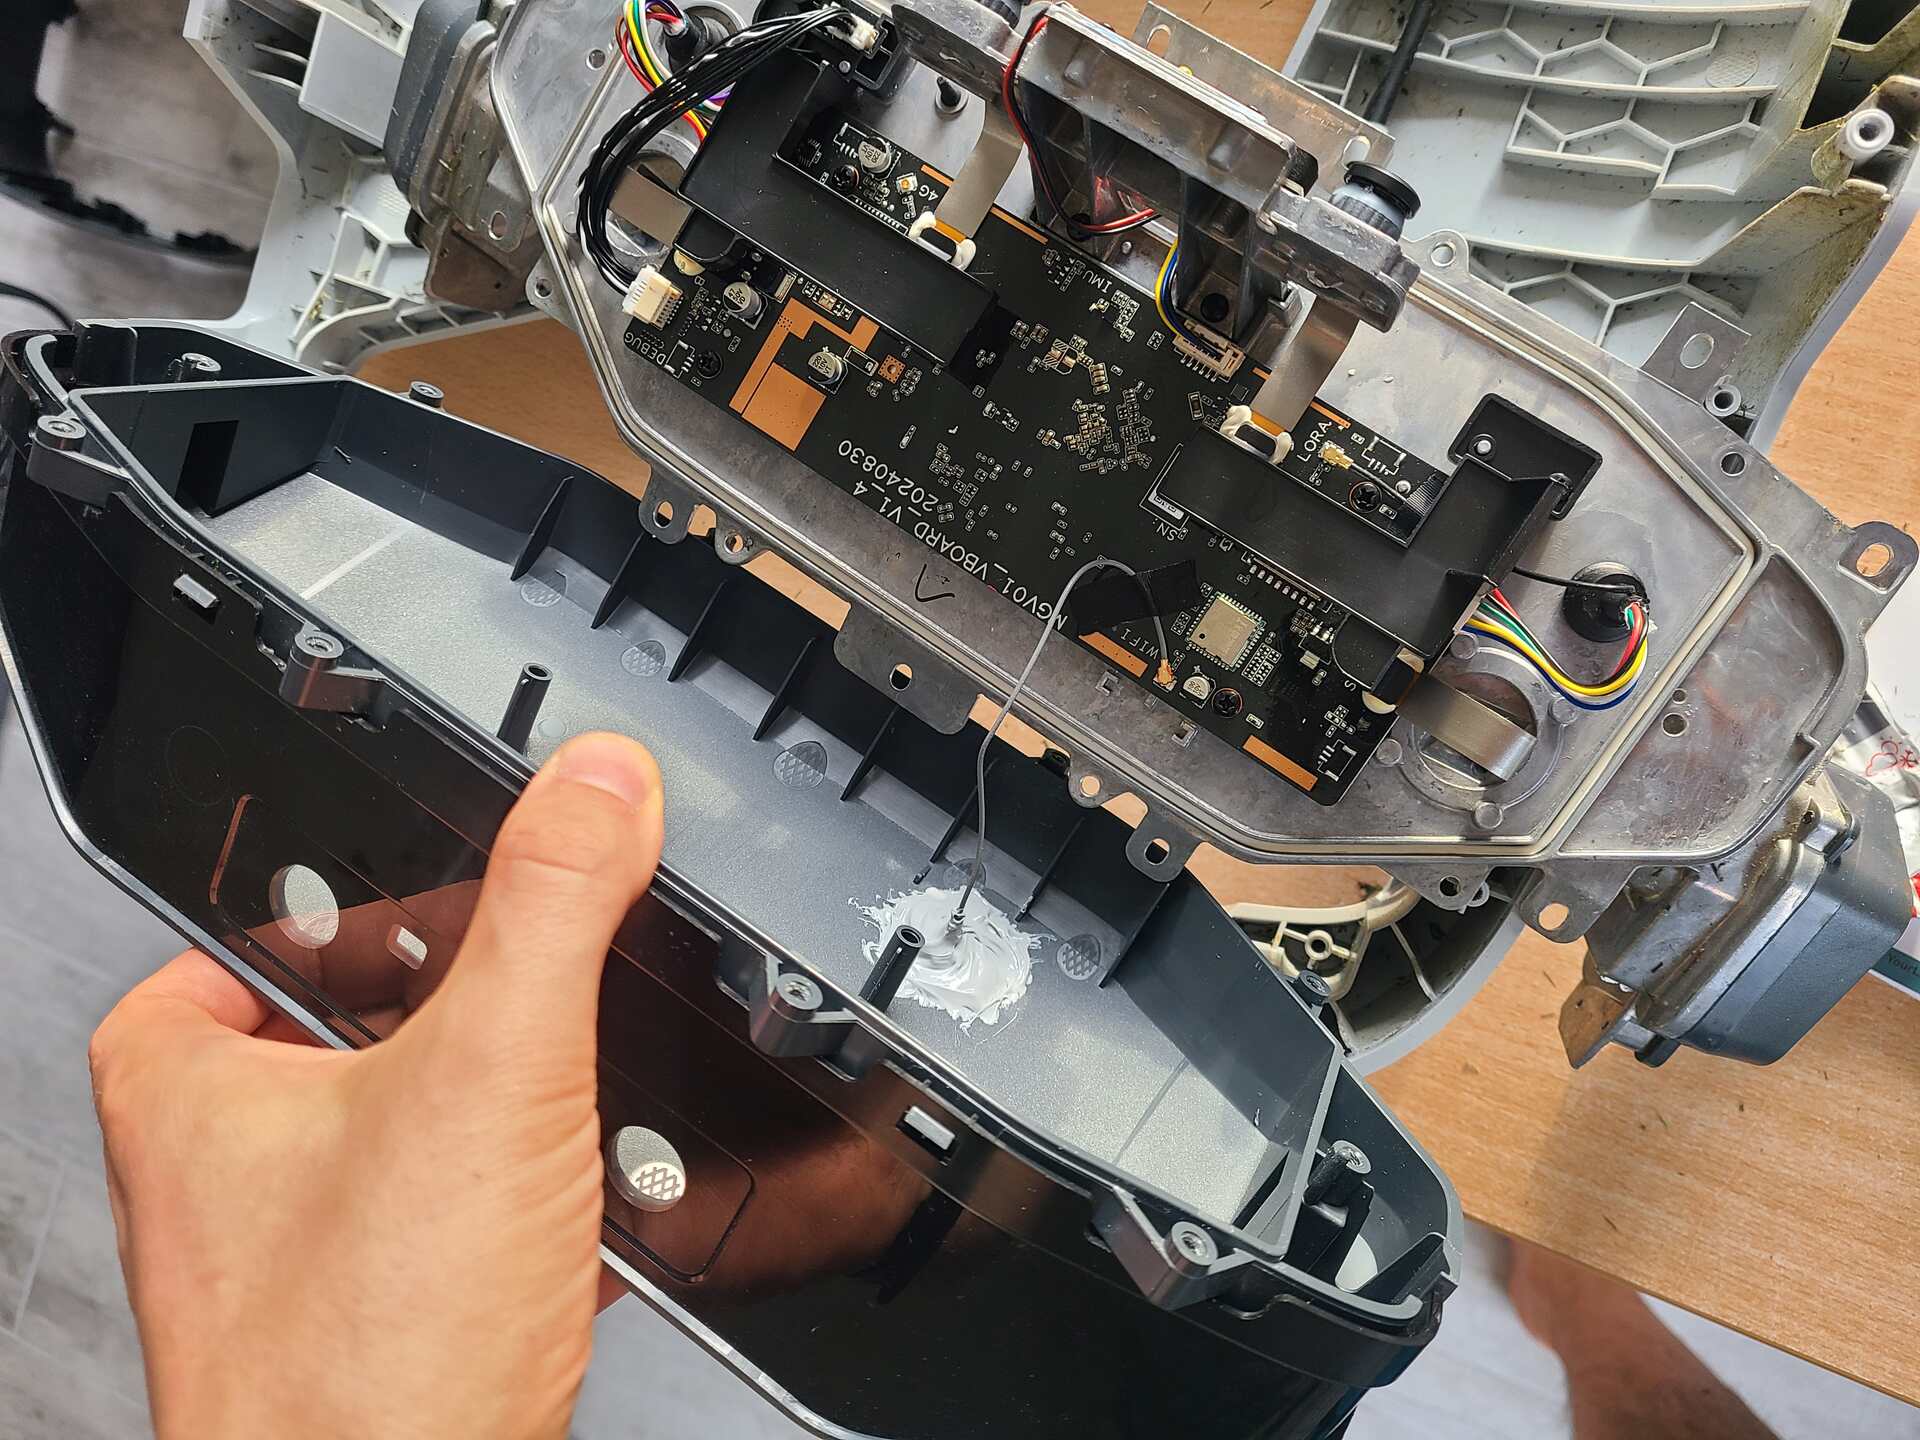
Step 6: Antenna access
Inside the camera module:
- Next open camera module itself
- The original antenna is a small patch type - glued directly to the plastic housing. Partially open module, find the patch antenna and carefully peel it off to expose. This is how patch antenna is looking.
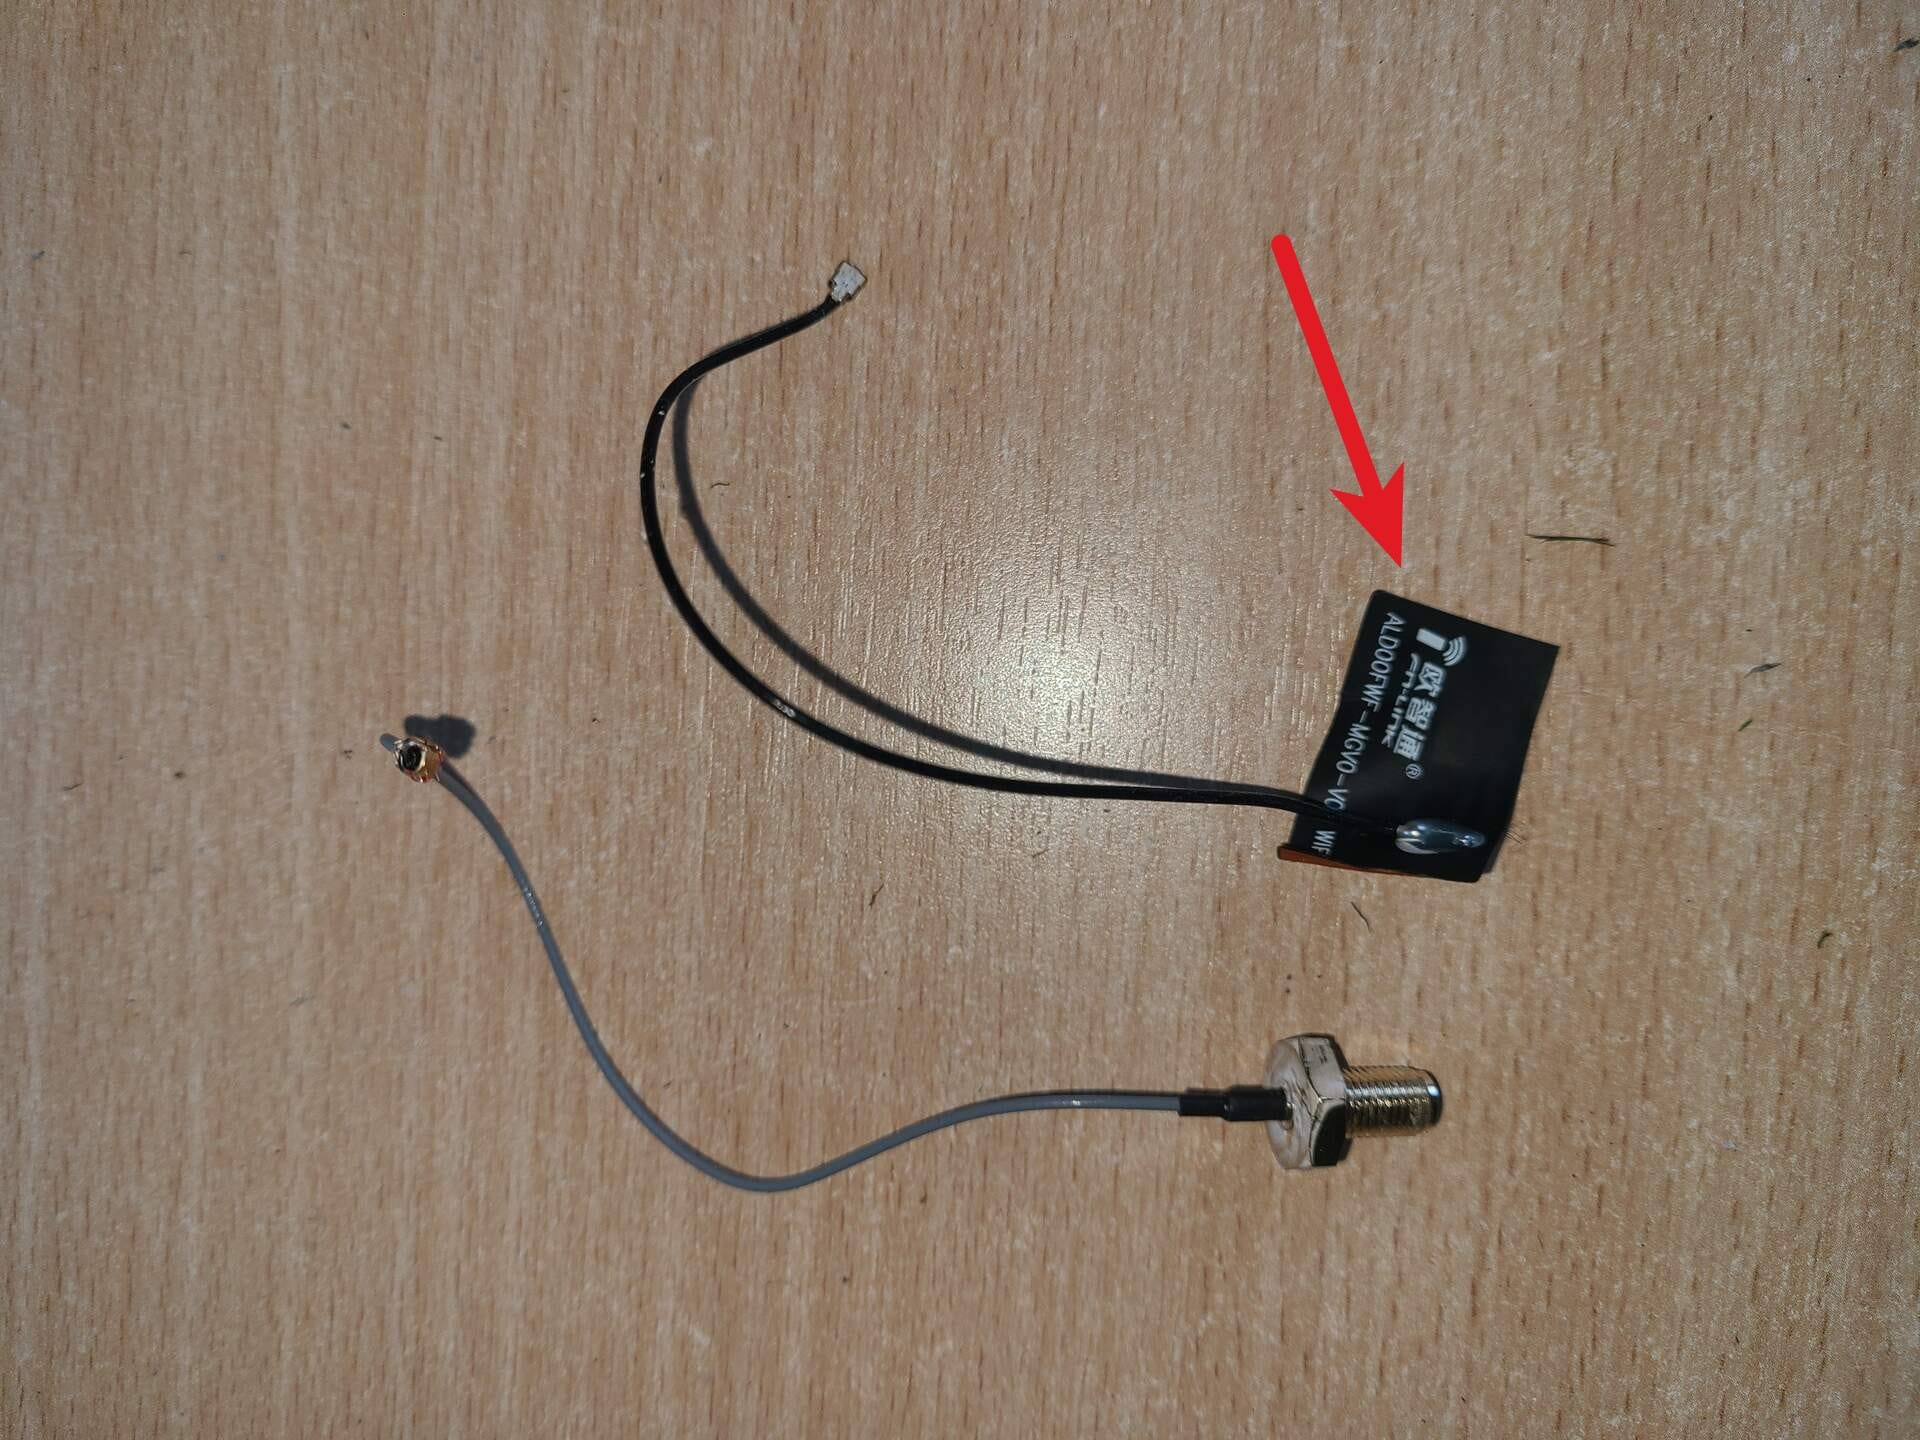
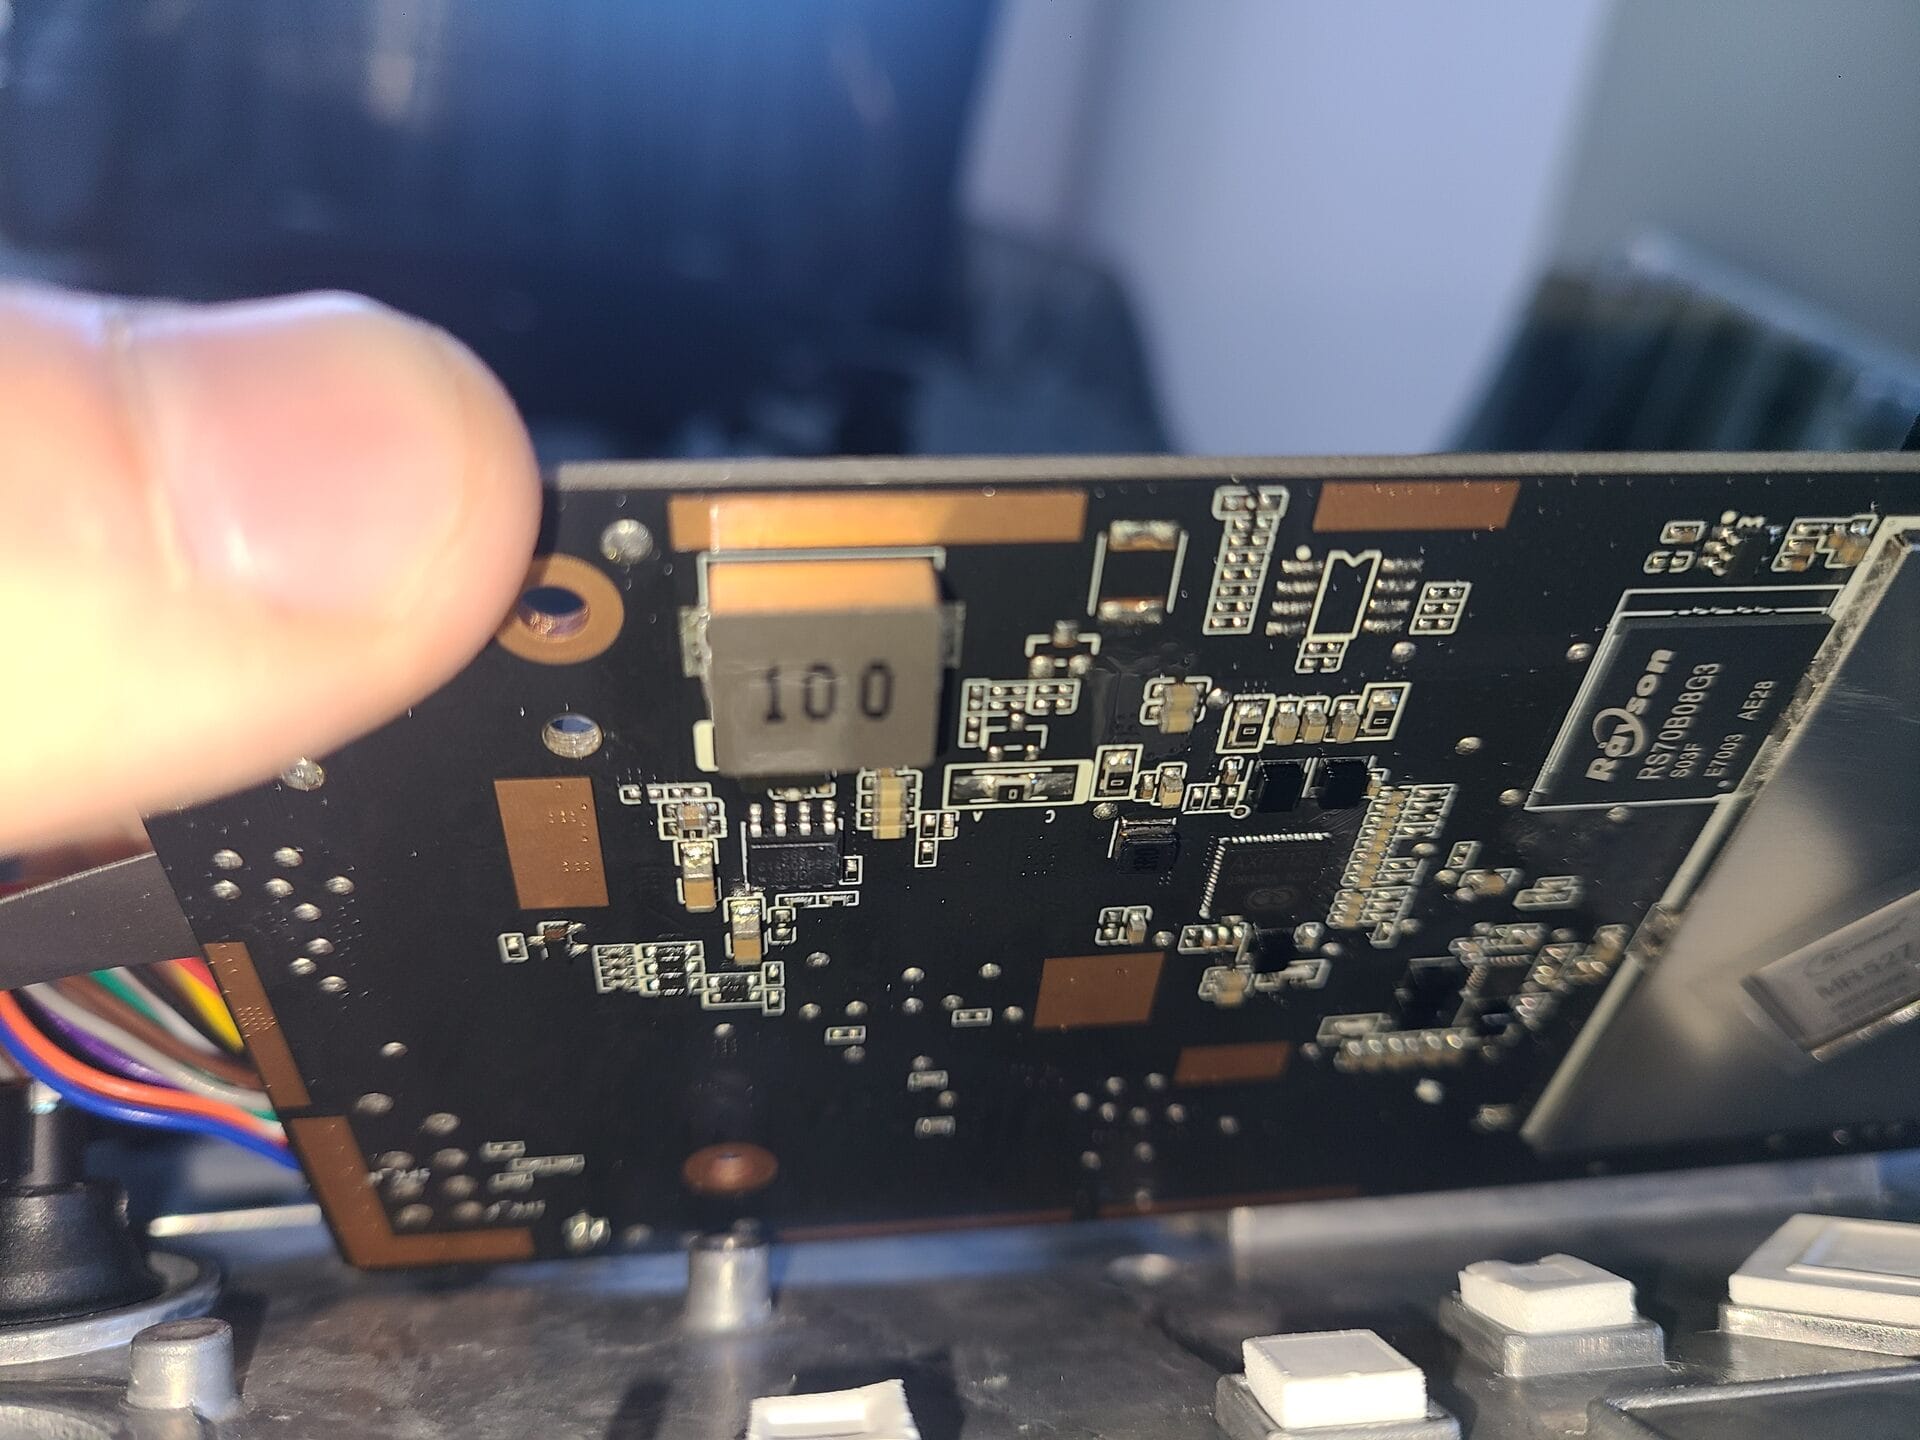
Step 7: Identifying the WiFi chip
The module used is - Fi-Link 6223A-SRD
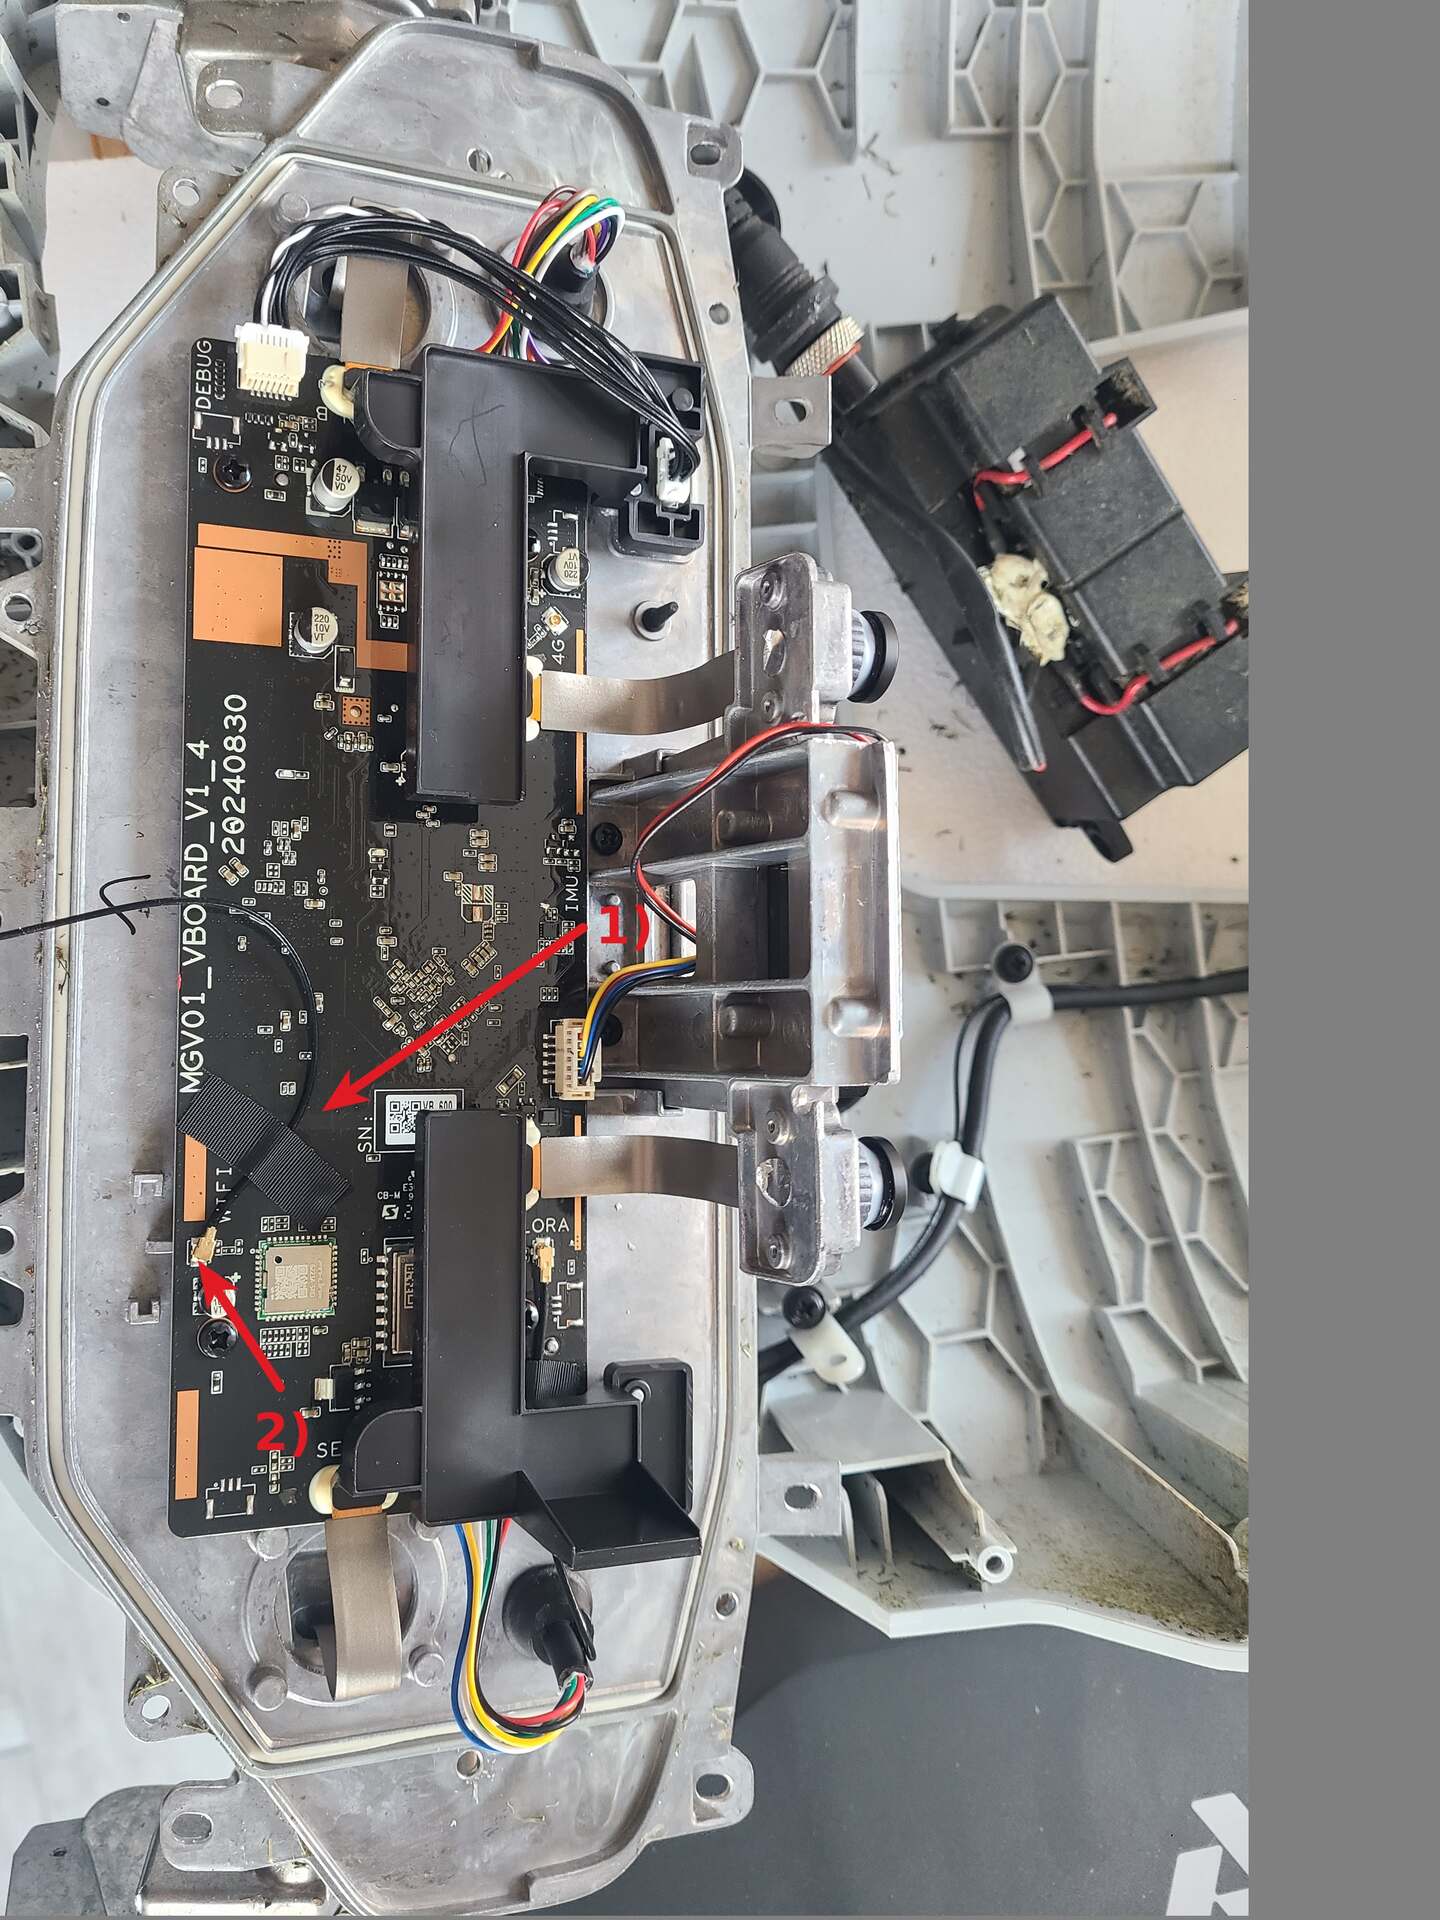
- Antenna cable is secured by black tape
- U.FL connector
Stock antenna is a low-profile internal patch design - the key limitation point.
Step 8: External antenna modification
Upgrade approach:
- Use an SMA to U.FL extension cable.
- Drill a 6 mm hole in the housing (placement depends on your routing; I used a position near the WiFi module)
- Route the cable externally or to a better RF position inside the housing
Step 9: Reassembly
- Install SMA connector and secure with nut
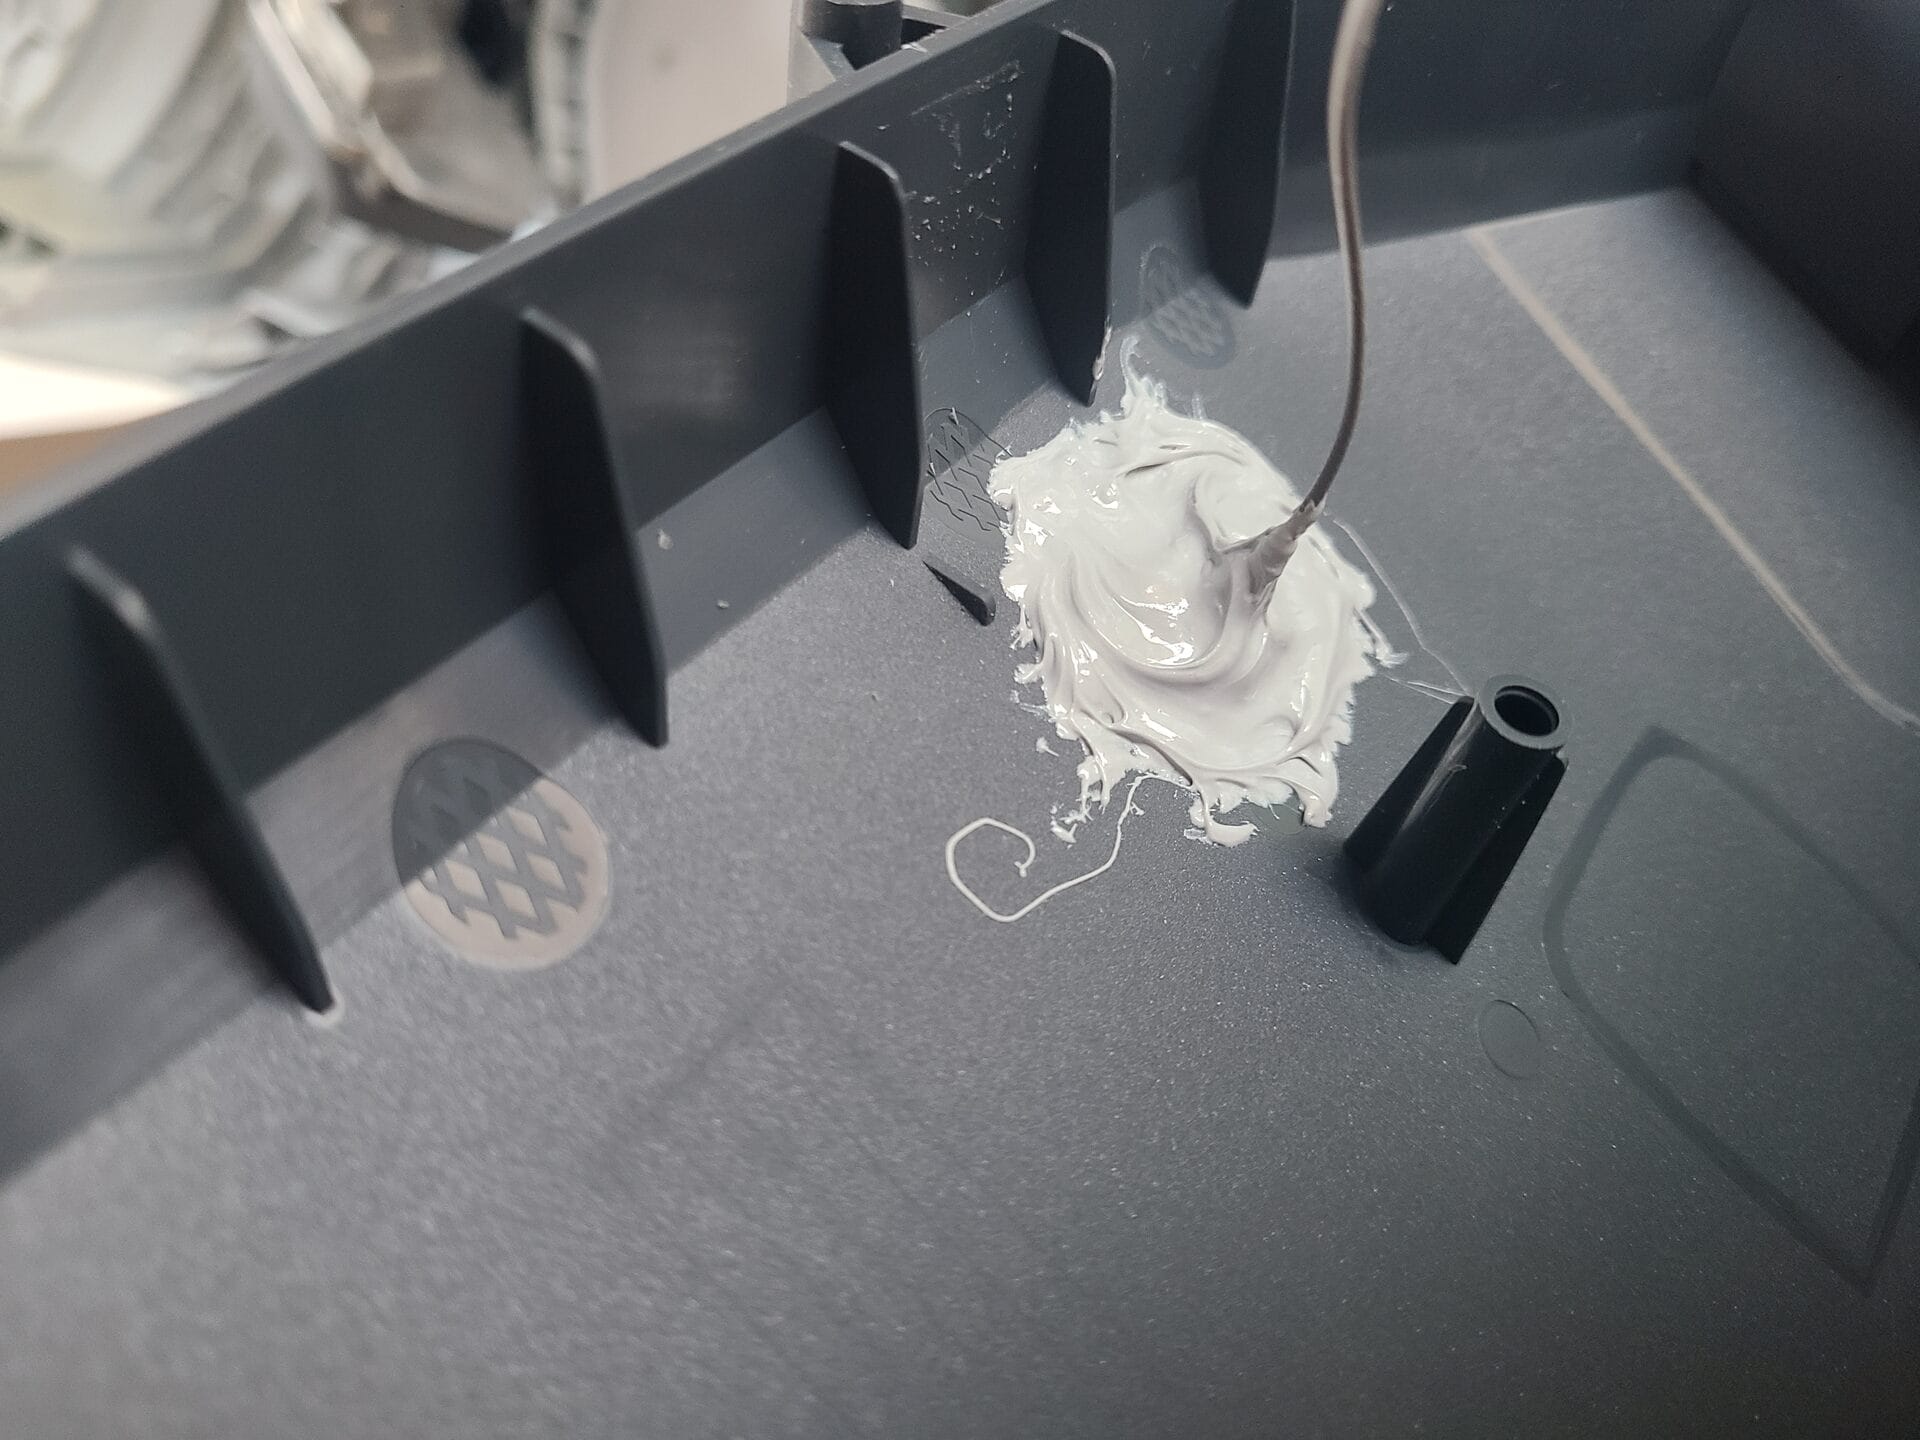
- Seal the entry point thoroughly with silicone to prevent moisture ingress
- Reconnect U.FL connector
- Reassemble all parts in reverse order
Result
Before modification:
- Unstable connection beyond ~7 meters from doors
After modification:
- Stable connection up to ~40 meters from doors in open yard conditions
The improvement is significant and immediately noticeable in real use.
Additional observations
- Battery expansion: there is physical space, but no supporting power management circuitry, so parallel battery modification would require additional BMS integration
- 4G upgrade: not possible on Genie 600, as the module is not present
- Overall hardware design: surprisingly solid and serviceable once opened
Summary
The limitation was not the WiFi infrastructure, but the internal antenna design of the mower. Replacing the internal patch antenna with an external SMA antenna dramatically improves range and stability.
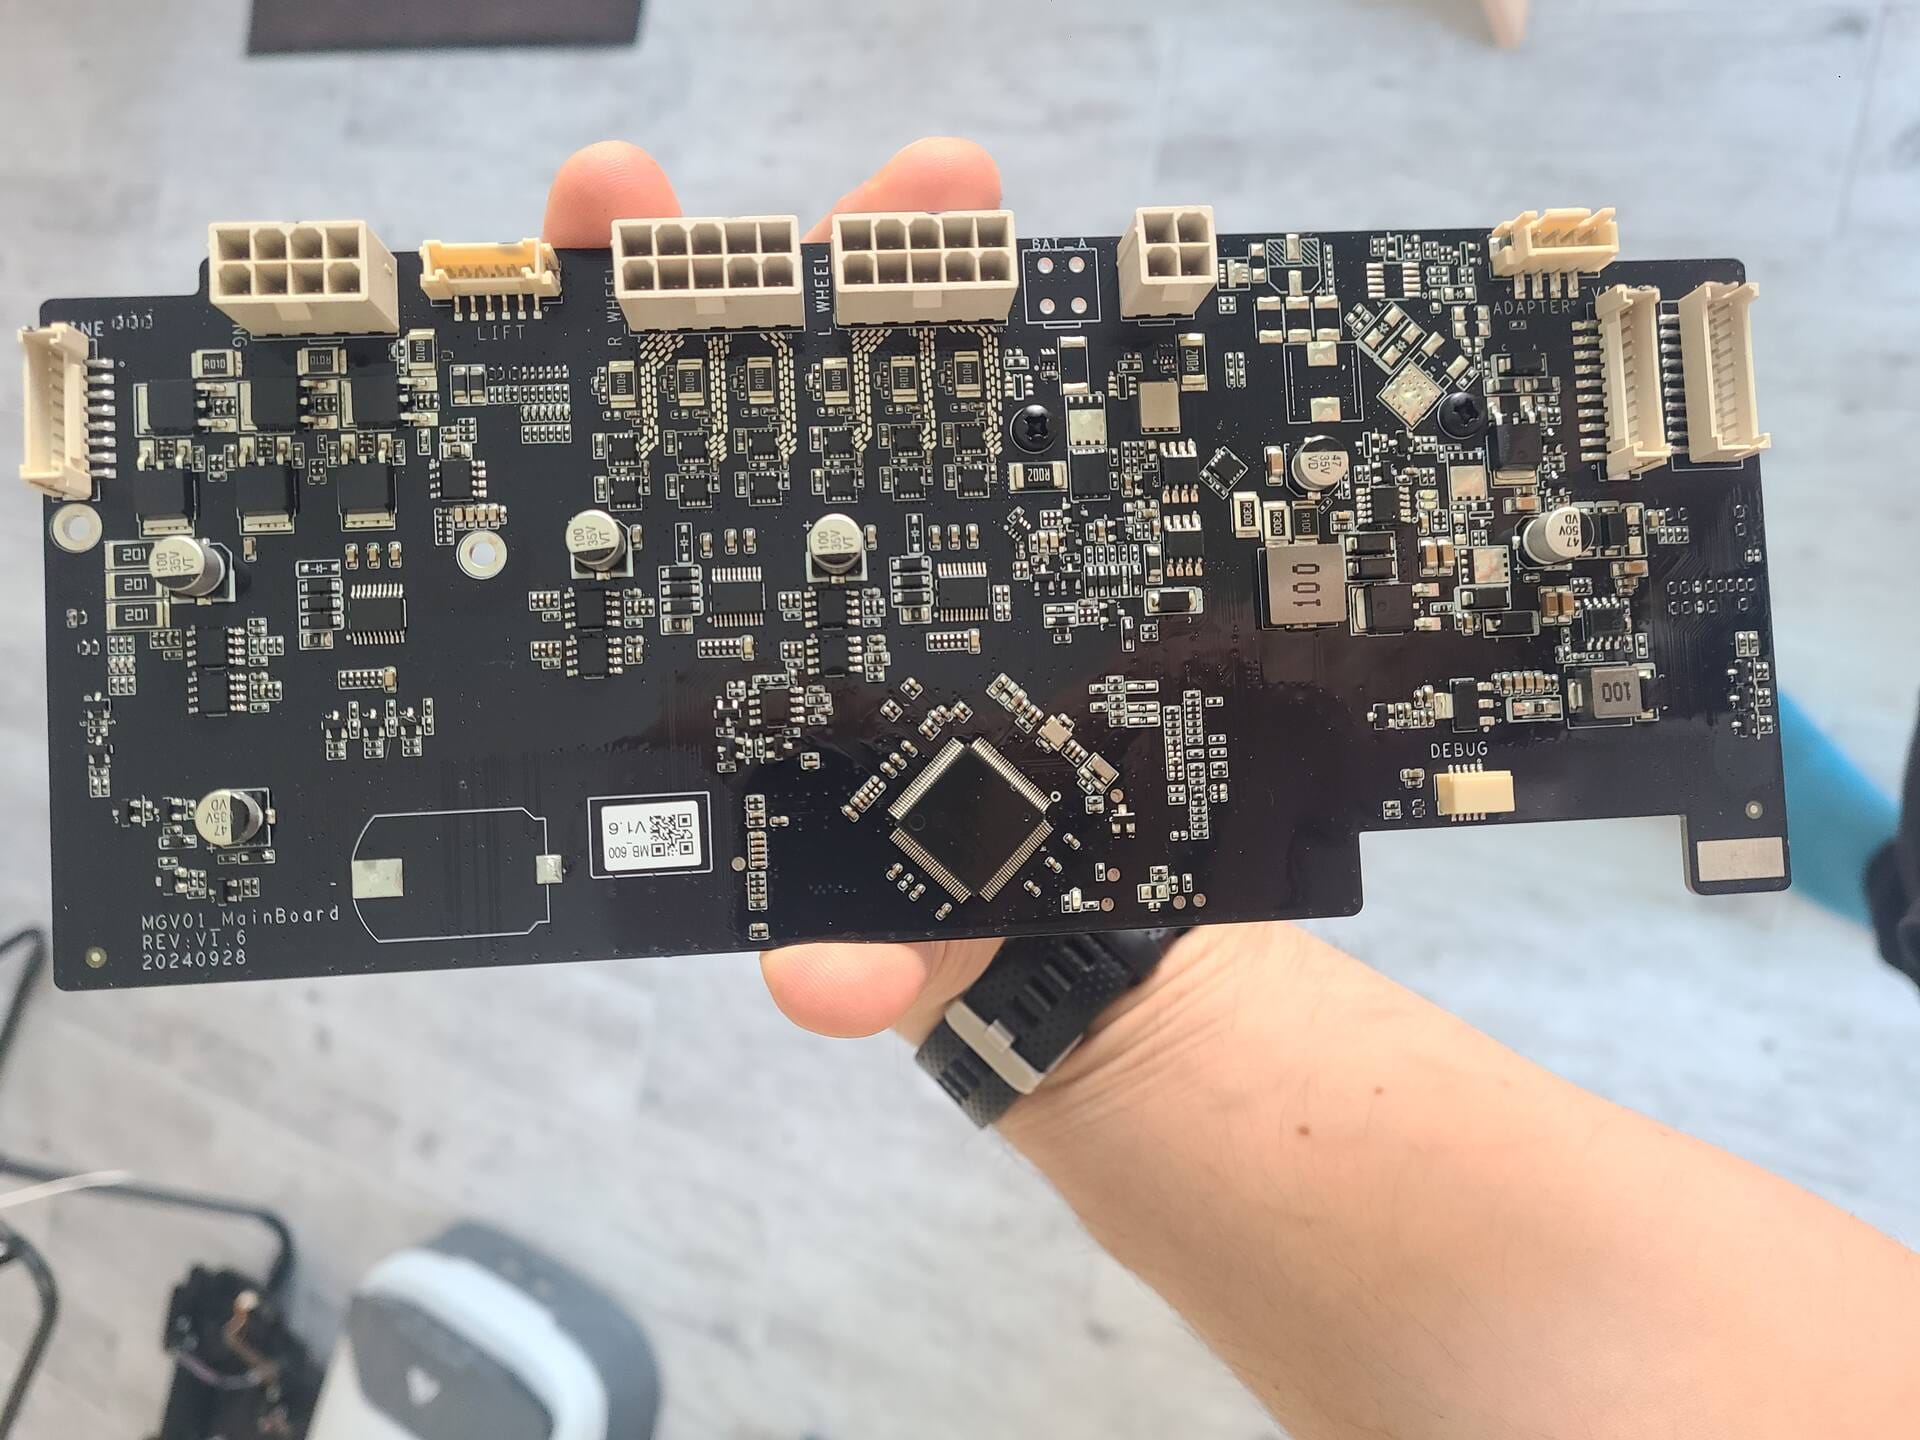
Additional teardown photos follow.